Quick Ways to Transfer OST File to New Computer
OST is an offline storage file used by Outlook that allows a user to access emails in offline mode. If you are searching to migrate OST files to a new computer or laptop. Then, in this blog, we are going to discuss how to migrate Outlook OST to new computer.
A user can Transfer the OST file to a new computer in the following ways:
A user can move OST file by downloading the mailbox data from the mail server, only if the user is an admin of the Exchange profile. But if the user is not the admin of the Exchange server or if the user wants to transfer the OST file to another system. Then, the ideal way is to first convert OST file into PST file and move the PST file to a new computer. To perform the OST conversion we will use the autmated tool OST Converter Application. But, Before conversion, we have to find the location of the OST file in the system.
Procedure to Migrate Outlook OST to New Computer
Step 1: Find the Location of Outlook OST File
In order to find the location of the Outlook OST file follow these steps:
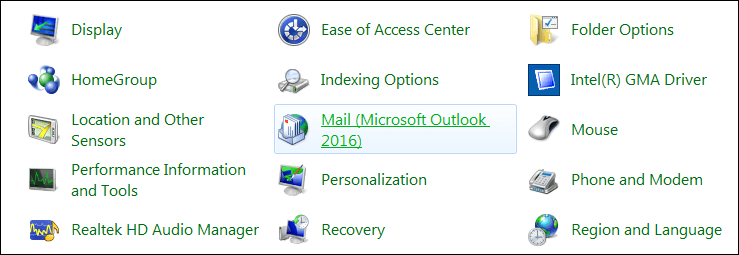
- Open Control Panel.

2. Click on the Mail button.
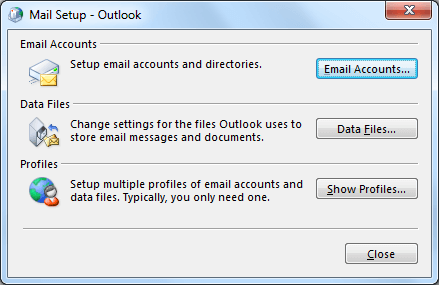
3. Now, in the Mail Setup dialog box, click on the Data files.
4. Now, Select the desired account and click on the Open File Location button.
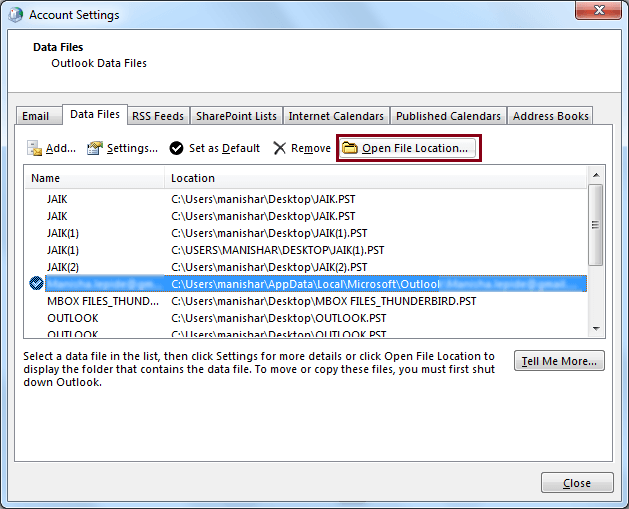
4. The location of the desired OST file will be opened.
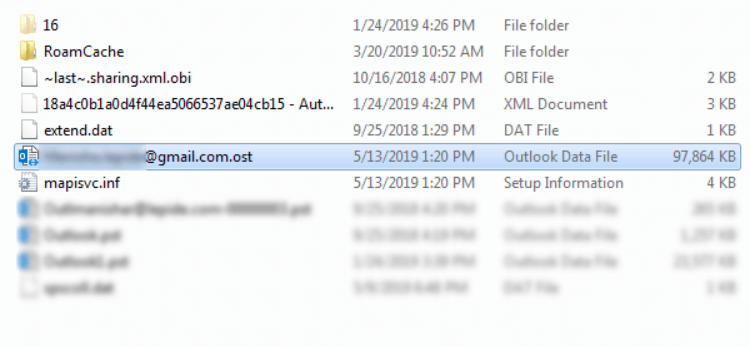
Step 2: Convert OST file into PST File
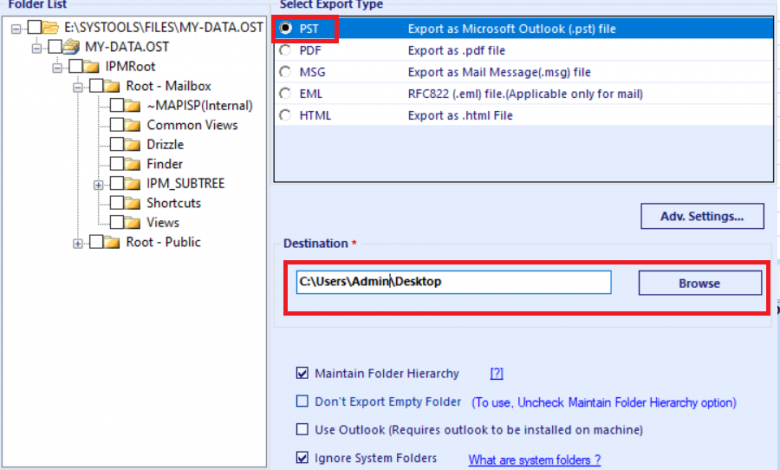
If you want to Migrate Outlook OST file to new computer then first the user has to convert OST file into PST file, so to perform this we will use automated tool such as SysTools OST Converter. This software has a very user-friendly interface so that anyone can easily convert OST file into PST file. Moreover, this software converts OST file into multiple file formats such as PST, PDF, EML, MSG, etc.
To convert OST file into PST file follow the below-mentioned steps:
- Download and install SysTools OST Converter software.
- Click on the Add File button and browse the OST file.
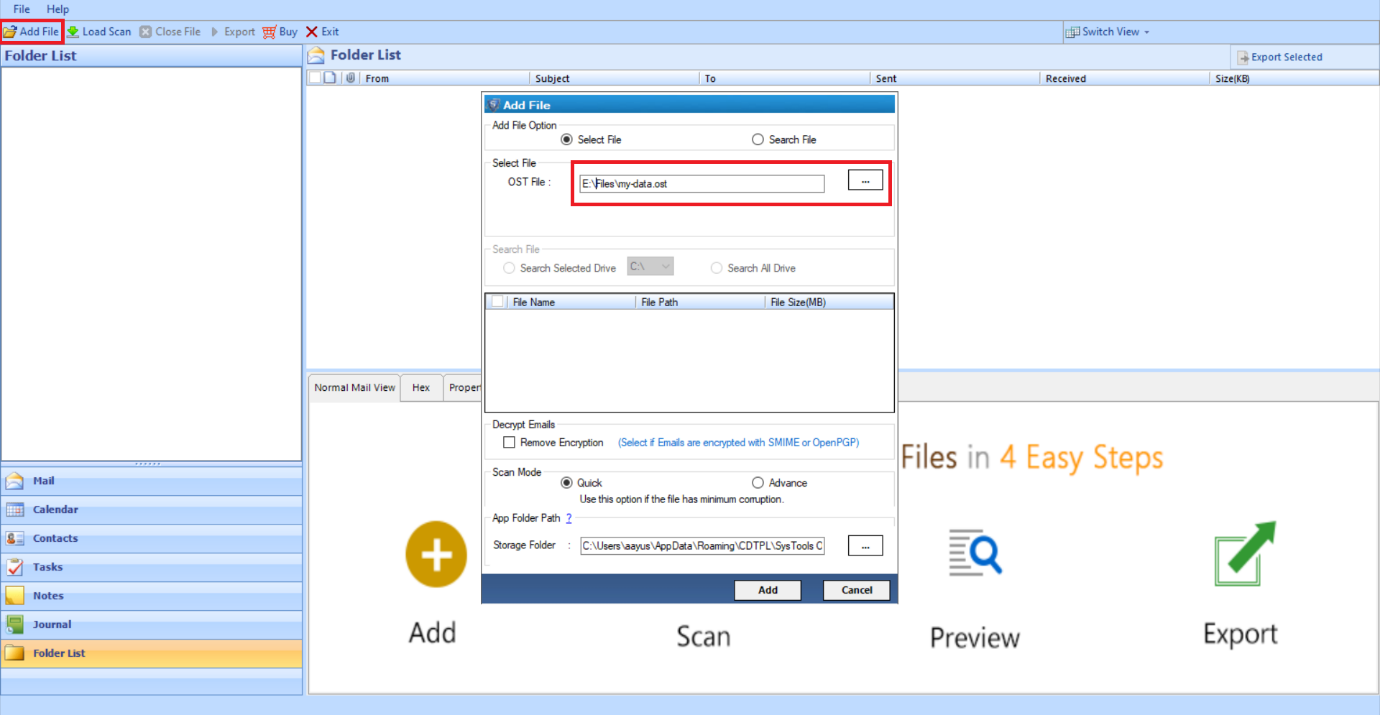
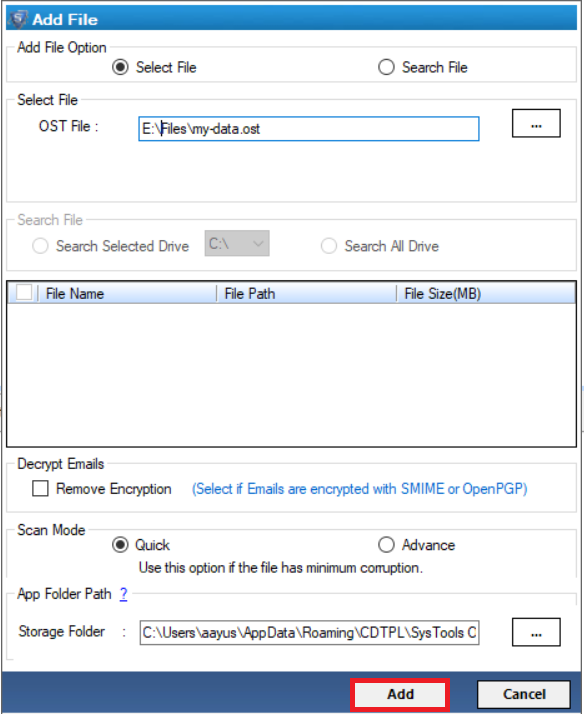
- Click on the Add button.
- The software will preview all the emails of the OST file.
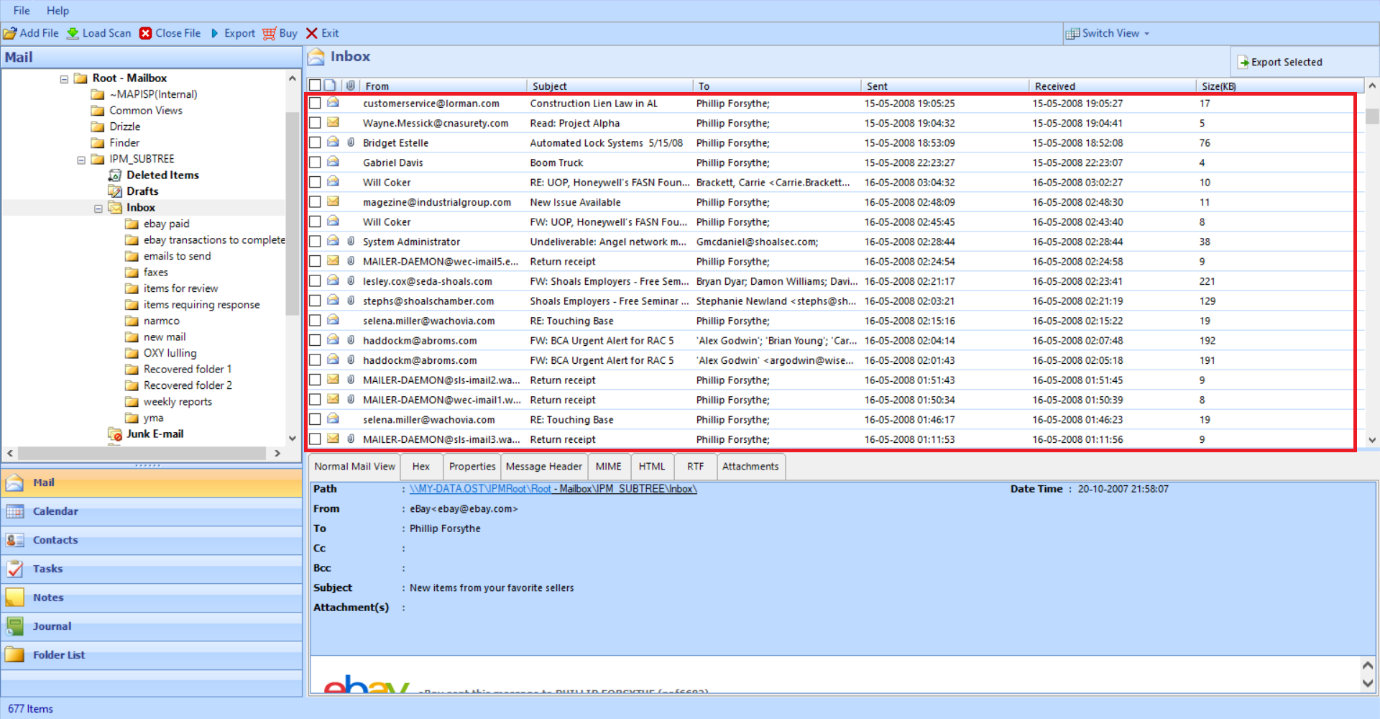
- Select emails and click on the Export.

- In the Export Option, select the PST file option and browse the desired destination.

- Finally Click on the Export Button to Start the Conversion process.
Step 3: Import the PST File in Outlook Application
Follow these steps to move OST file to a new computer:
- Copy the PST file into Pendrive or any other external drive and move the PST file into a new computer.
- Run Outlook on the new computer and then Open Outlook Application.
- In the Open & Export option, click on the Import/Export
- In the Import and Export Wizard, select Import from another program or file.
- Click on the Next
- Now, select Outlook Data File (.pst) option and click on the Next
- Browse the PST file in the File to Import option and select the available option according to your choice.
- Click on the Next
- Select the folder option as needed and click on the Finish
Transfer IMAP OST File Outlook 2016 to New Computer
Conclusion
By following all these steps, you are able to Migrate Outlook OST file to new computer. Since I discussed a OST Conversion software to convert OST file to PST file. In this blog as it is the best software to convert OST file into PST file. Moreover, if your OST file is corrupted the user can also use this application to perform this task easily.


