How to Import EML to Office 365 in Bulk? Really Get The Best Solution Here

Nowadays, switching from a desktop-based email client to a cloud-based email client application is a need of every business. Import EML data files to Office 365 is one common scenario. And several users are looking at the methods to migrate the EML to a cloud platform.
But, if you didn’t get a perfect solution and consequently facing lots of technical issues. Then, not to worry about it. Here, we are going to describe the manual and automated solution as well, which will definitely resolve this issue in the best possible way.
Let’s get started with why the users are inclining towards the cloud platform.
Why do we Need to Import EML to Office 365?
EML file consists of email messages along with the attachments. It is a file format of multiple POP3 email client applications like Thunderbird, Windows Live Mail, Apple Mail, Outlook Express, and many more.
On the other side, Office 365 is a cloud-based service that comes with various subscription plans. It includes several features such as Web apps, SharePoint, online meetings, online storage, etc. These applications can be accessed remotely with any device provided with internet connectivity.
As we know on-premise applications such as WLM, Thunderbird, Outlook Express, etc., allow limited desktop usage because of heavy hardware requirements. Hence, with the purpose to access all the services and features of web-based applications, sometimes users need to move the emails saved in .eml to Office 365.
Now, we will proceed with a real-time user query to get the knack of it. Read here…
“I am a Windows Live Mail user & I have EML files in a bulk in my local machine. Now, I want to import all these emails with attachments in the Office 365 environment. For this, I already tried lots of manual methods but I can not see any emails in O365. Is there any automated solution to migrate these EML messages into the O365 cloud account?”
Let’s resolve the user’s query.
We have mentioned two resolutions to import EML files into Office 365 in bulk. One is the manual technique and another is an automated process. Have a look at them and choose the one as per your choice.
Office Automation Systems Provides a Great Solution For Your Business
Solution 1- Transfer EML Files to Office 365 Manually
The entire manual method is categorized into two main steps and follows the instructions carefully to avoid any kind of data loss.
Are Open Office Spaces Really Effective for Business?
Step 1: Convert EML to PST Format
There are following specific approaches by using which users can export EML to PST file format.
EML to PST Conversion using Microsoft Outlook
This method is widely used when EML documents are separately saved on your device and no email utility is set up to open this file. But, it’s mandatory to have Outlook installed on your system to execute the following commands.
⦁ Run MS Outlook on your machine.
⦁ Navigate where EML files are saved and select them.
⦁ Drag that selected EML file and drops it directly into MS Outlook software
⦁ After uploading, click on file>>Open & Export>>Import/Export
⦁ Click on Export to a File option. Click Next.
⦁ Pick outlook records file(.pst)>>click Next>>Finish.
Step 2. Import PST to Office 365 Account
In an earlier step, EML files are transformed into PST format and you can import it into Office 365 account. There are two special approaches to import PST files into O356.
1. Network Upload: Admin level customers can migrate information files over the network using Office 365 import service. By using the Azure AzCopy tool you can access the Azure storage where all your PST files are uploaded.
2. Drive Shipping: In this method, admin take a replica of the PST files into temporary storage, as an example, BitLocker encrypted hard drive and physically ship this drive to Microsoft.
Limitations of Manual Methods
⦁ The manual process is very tedious and tiresome if you want to import EML files in bulk.
⦁ Folder hierarchy structure is not maintained during the migration process.
⦁ Drive shipping method is very expensive and time-consuming as it takes a long time to cross the international borders.
⦁ There are also have restrictions to upload only a limited file size.
Solution 2- Convert EML to Office 365 by Using Automated Tool
EML to Office 365 Wizard is an advanced professional tool to import EML files to Office 365 directly in bulk mode. The software program is designed with a tremendously programmed algorithm to maintains all the metadata properties during migration. It offers a date filter option for selective data migration. There is no file size limitation imposed with the aid of the software. Moreover, it is compatible with all the Windows operating systems.
The application takes only a few moments to migrate the bulk of data from EML to Office 365 mailbox. The utility has a GUI interface that is a simple and bug-free method to upload EML to Office 365. Not only this the integrity of data is intact without any data loss.
Step-by-Step Process to Import EML to Office 365 in Bulk
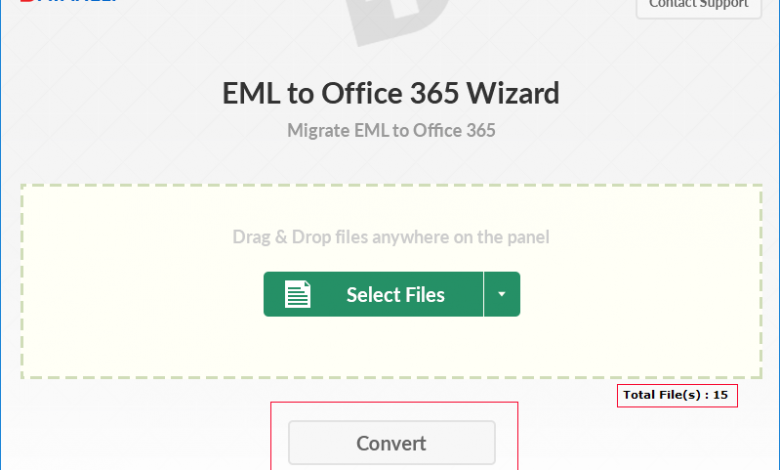
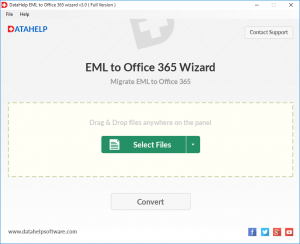
Step 1: Pick out the Drag&Drop or Select Files option to import EML files into the software panel.

Step 2: After adding the EML files, click on the Convert button to start the migration process.

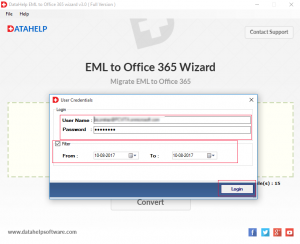
Step 3: Enter the Office 365 user credentials and click the login button. Also, you have date filter option to choose the selective .eml files.

Step 4: Now, the software starts the importing process. Thus, files get successfully imported into Office 365 account. Hit the OK button.

Hence, you can click on the Save Report to save the exported report. Also, set the location where you want the save the generated report. After finishing the complete procedure, you need to sign in the Office 365 account. There you can view those .eml files along with attachments in bulk.
Conclusion
By reading this article you will get complete information about EML to Office 365 migration. We have mentioned a manual and automated method to import the EML into Office 365. In case if customers find the manual process difficult and lengthy then, we recommend a reliable third party solution. This automated solution completes the migration process in a few simple clicks without losing a single bit of data.


