There’s a storm outside, and it’s more than just rain and lightning. You hear the clatter on the roof, and the next day, you find a casualty – a broken roof tile. No fret! Instead of calling in the cavalry immediately, you might be able to handle this one on your own. Ever wondered “how to replace a roof tile?” Grab your DIY gloves because we’re diving into a step-by-step guide tailored for homeowners just like you!
Safety First: The Golden Rule of DIY
Before we dive in, remember that working on a roof can be dangerous. Use a sturdy ladder, wear non-slip shoes, and ensure you have a safe, stable surface to stand on. If you’re uncomfortable or the roof is steep, it might be time to call in the pros.
1. Gather Your Tools
You’ll need:
- Replacement tile(s)
- Crowbar or roofing hammer
- Nails (if required)
- Safety gear: gloves, non-slip shoes, safety goggles
2. Access the Broken Tile
Climb up to where the tile is located. Make sure you step only on the lower third of the tiles, or the part that’s supported underneath to prevent any further damage.
3. Remove the Damaged Tile
Roof tiles are typically hooked onto battens or nailed down. If it’s nailed, you’ll need to use your crowbar or roofing hammer to gently lift the tile above the broken one. This will expose the nail. Carefully remove the nail and then slide out the broken tile.
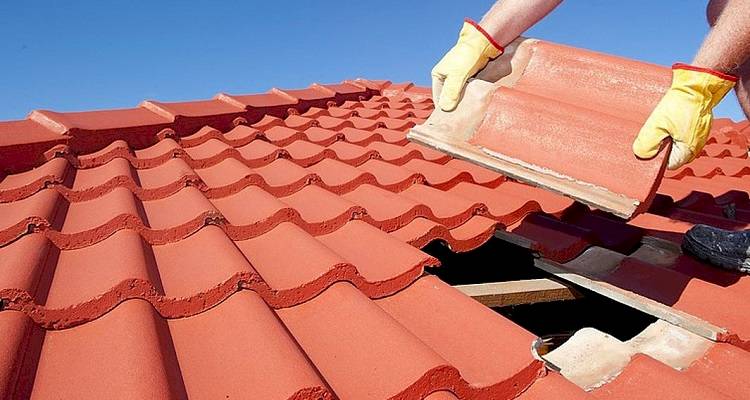
4. Slot in the New Tile
Take your replacement tile and slide it into the empty space. Make sure it sits comfortably and aligns with the surrounding tiles.
5. Secure the Tile
If the surrounding tiles were nailed down, you’d need to nail in your replacement tile too. Once the tile is securely in place, return the lifted tile to its original position.
6. Do a Rain Dance! (Okay, Maybe Not)
But do pour some water over the replaced tile to ensure it’s directing water away as it should. Make sure the water doesn’t slip underneath the surrounding tiles.
Final Tips:
- While you’re up there, take a moment to inspect surrounding tiles for any signs of wear or damage. It’s easier to replace tiles in batches.
- Always keep a few spare tiles handy, especially if your tiles are a unique color or design. This makes matching and replacing them a breeze.
If this DIY adventure feels a bit too daring, or if there’s more significant damage afoot, it’s wise to reach out to experts who handle these tasks daily. Whether you choose to do it yourself or hire a professional, understanding the process of “how to replace a roof tile” empowers you to make informed decisions for your home. Happy fixing!